Knowledge Base
Search by either entering keywords or by selecting a product.
Creating a new Shared Folder on a Buffalo TeraStation
Note: For TeraStation 5010/3020/3010, please refer to this article.
- Log in to the management GUI for the TeraStation. You can access the GUI by either entering the TeraStation's IP address into a web browser or by using NAS Navigator.
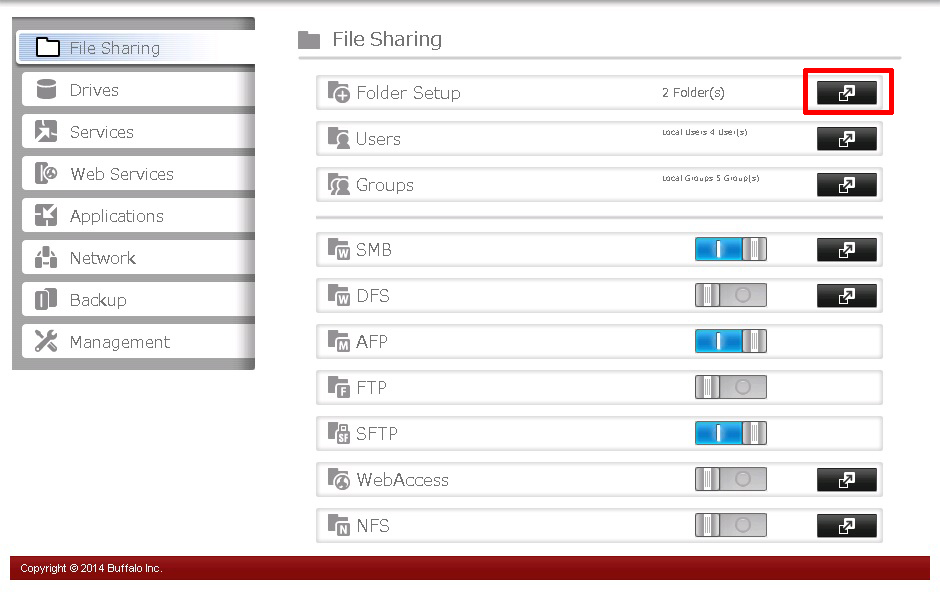
- Navigate to the "File Sharing" tab and click the Folder Setup widget button.
- Click Create Folder.

- Enter a folder name and a user ID. The folder name may contain up to 27 alphanumeric characters, hyphens (-), and underscores (_). Do not use spaces in the name or a symbol as the first character. The sample screenshot displays default settings for Attribute, Recycle Bin, and LAN Protocol Support. Additional supported protocols can be added now or at a later time. Once all fields are set, click OK.
NOTE: By default the SMB and AFP protocols are enabled on new folders. SMB shares are typically used by Windows clients while AFP shares are typically used by Mac OS clients. The rest of the protocols available in the list relate to internal TeraStation functions except for NFS. NFS shares are typically used by Linux/Unix based clients.

- The newly-created folder should now be included in the shared folder list. Click Close to finish.
