Knowledge Base
Search by either entering keywords or by selecting a product.
Joining a WSS 2012 NAS to an Active Directory Domain
Set the NAS to use a DC as its DNS server
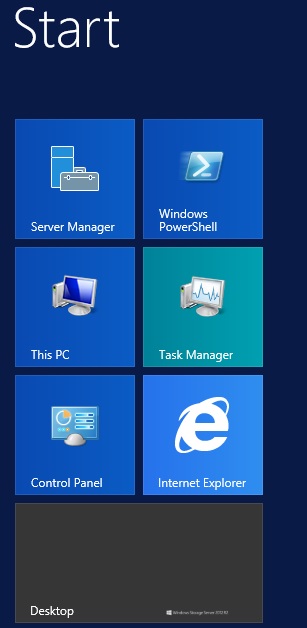
- From the Start screen click on "Control Panel".
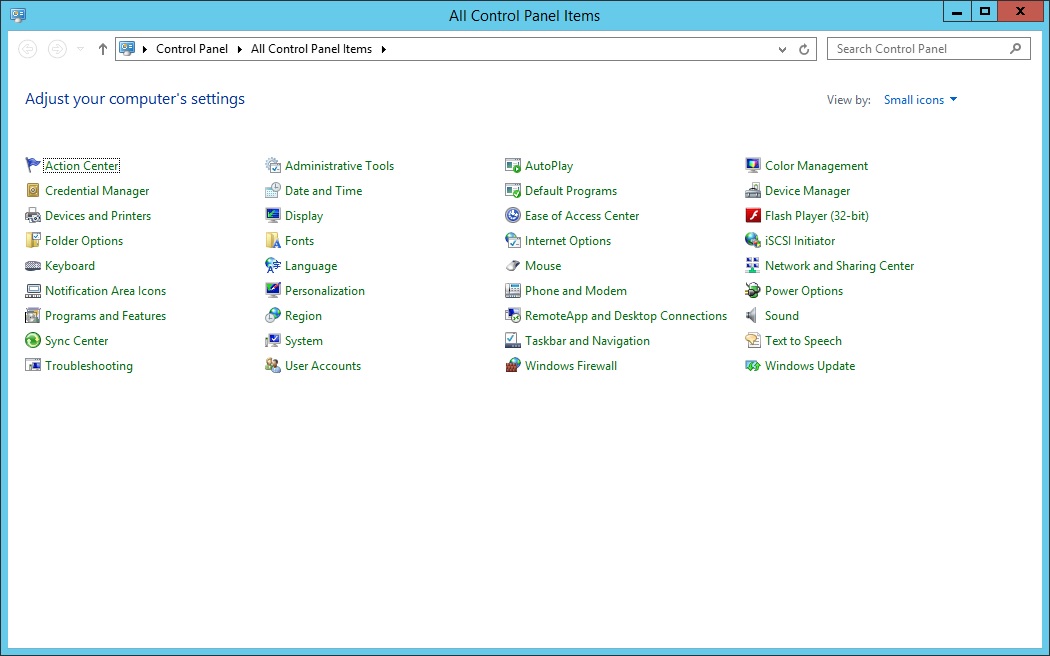
- From "Control Panel", open "Network and Sharing Center".
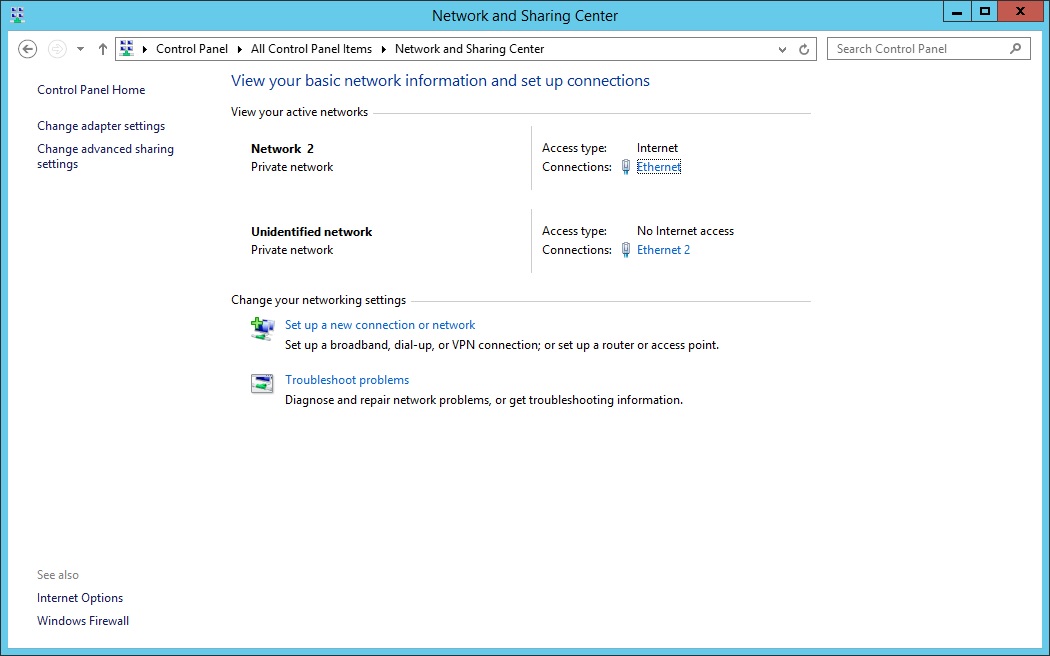
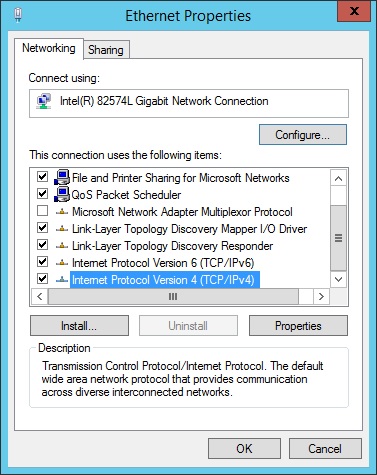
- From "Network and Sharing Center", click on "Change adapter settings" on the upper left.
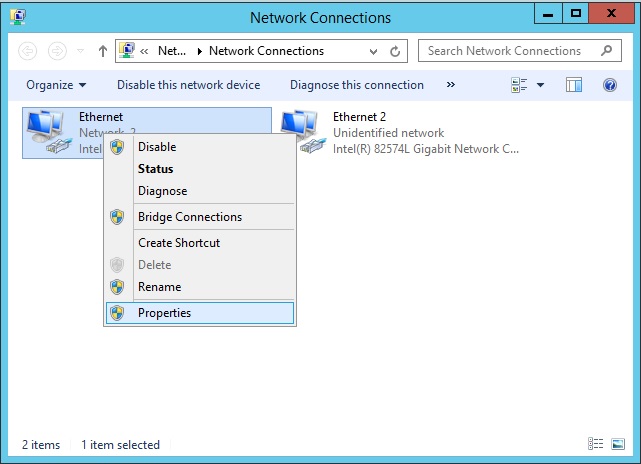
- Right-click on the first Ethernet adapter.

- Click on "Properties".
- Scroll down to "Internet Protocol Version 4" (or version 6 if you are using TCP/IPv6), select it and click Properties.
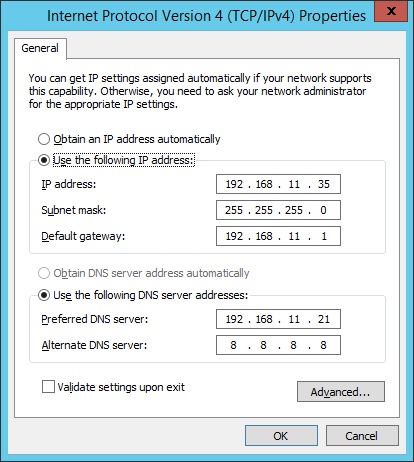
- Set a static IP address (preferable) and set the DC as the preferred DNS server, then click OK.
Joining the WSS 2012 NAS to the AD domain
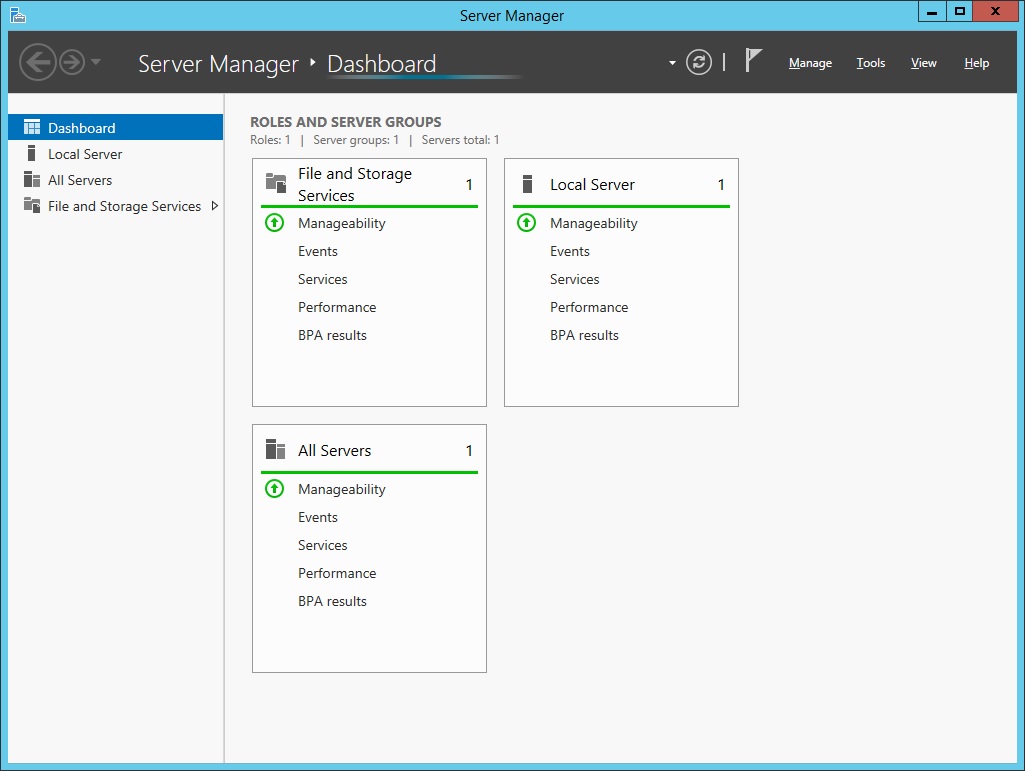
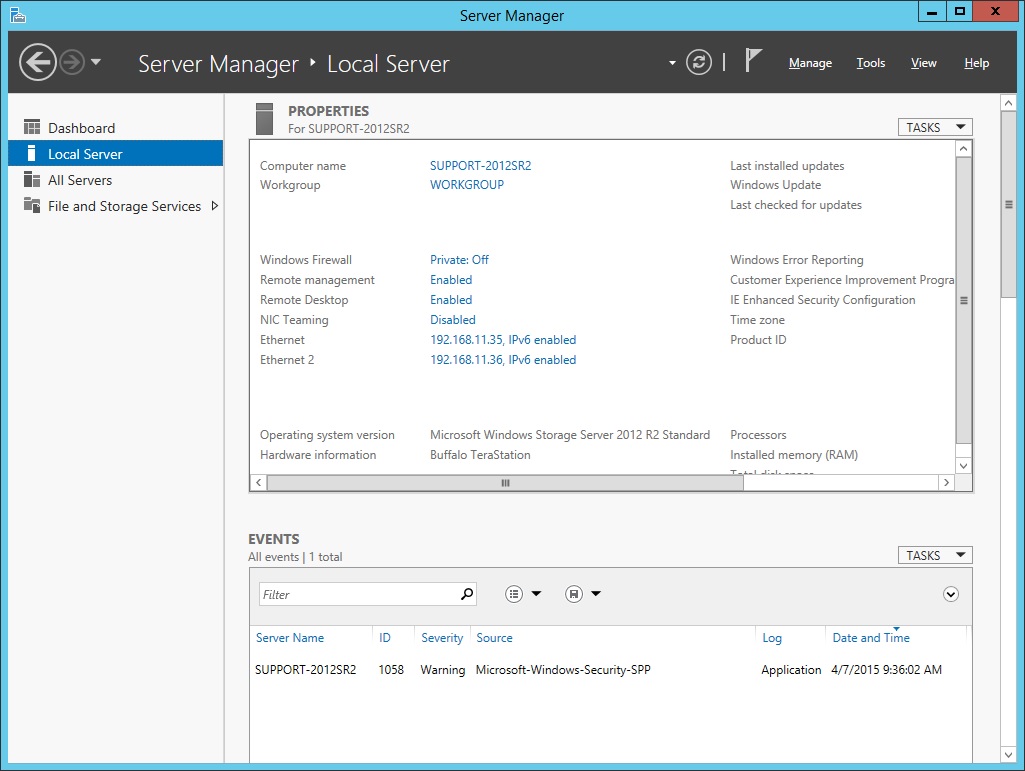
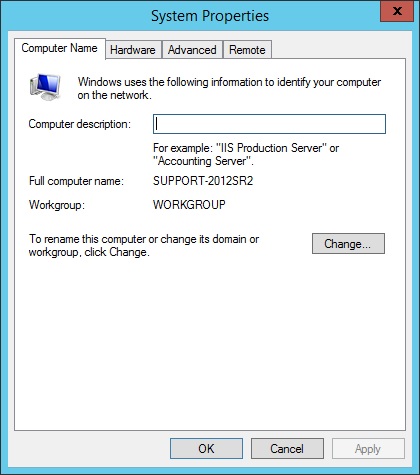
- Open "Server Manager" on the NAS and select "Local Server".
- Click on the link on the current workgroup name to change in. In this case it is the default "WORKGROUP".
- Click Change in the property sheet that comes up.
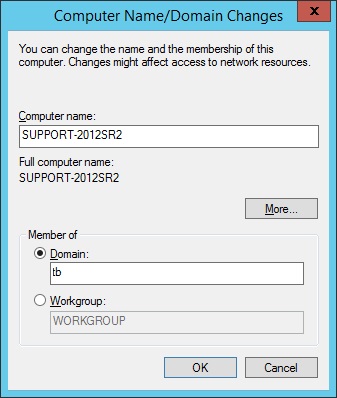
- Click on the radio button to select "Domain".
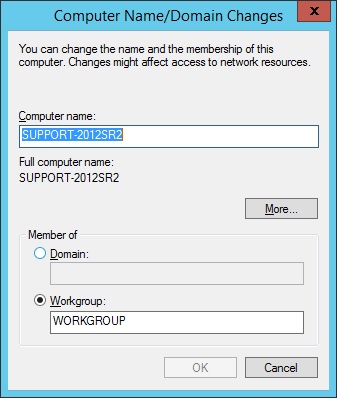
- Type in the domain name. This may need to be the fully qualified domain name depending on your domain configuration.
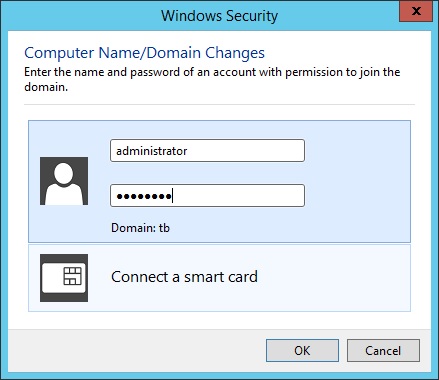
- You will be asked for a username and password for an account with permission to join the domain. This will probably be a domain administrator.
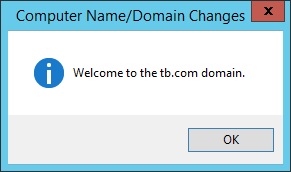
- After the join is successful, you should get this welcome message. Click OK.
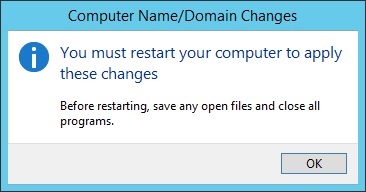
- You will get a notification that a restart is required to complete the operation. Click OK.
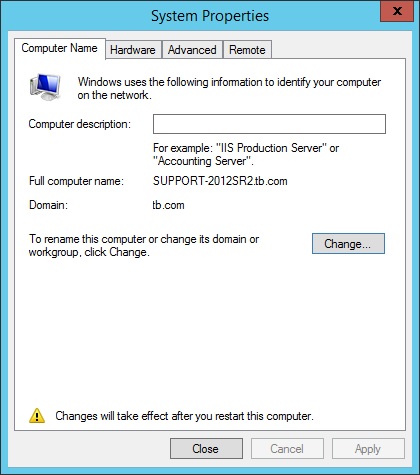
- Click Close to close System Properties.
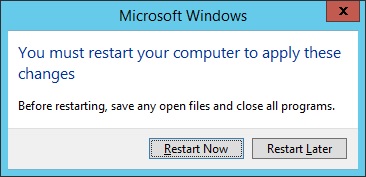
- Click Restart Now to restart the NAS and finish the process to join the NAS to the domain.
Related Videos:
Using the Buffalo TeraStation NAS with Windows Server IoT as a Central Backup Hub