Knowledge Base
Search by either entering keywords or by selecting a product.
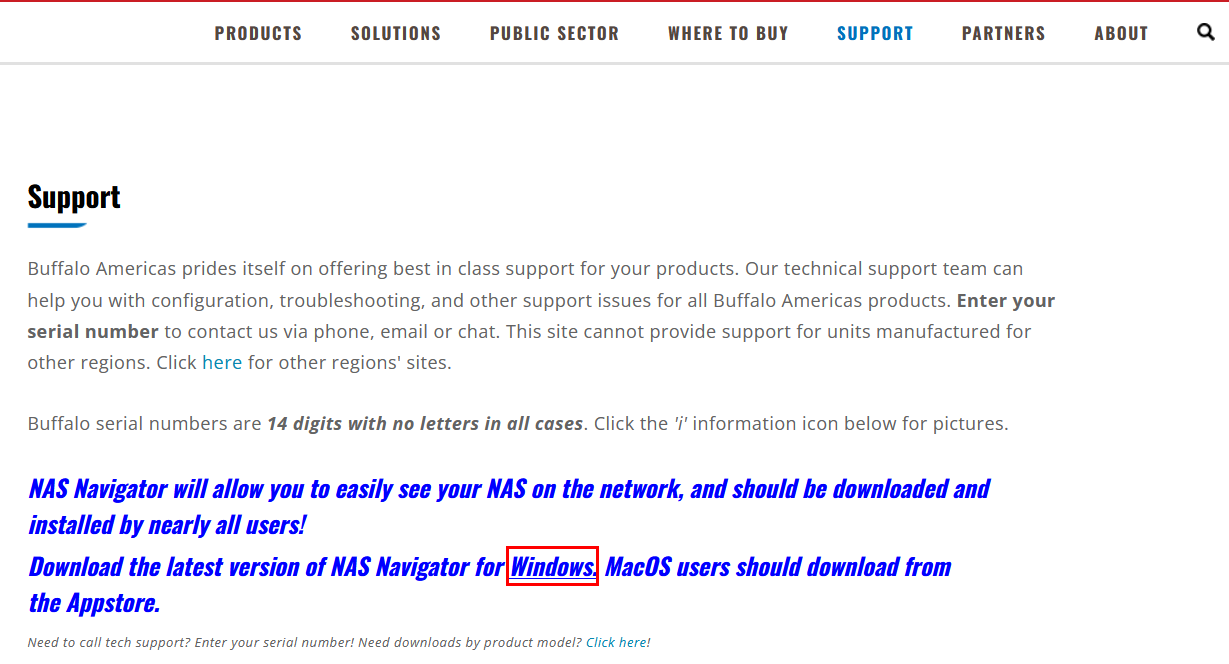
Installing NAS Navigator for Windows
- Download the latest version of NAS Navigator from the Buffalo downloads page.
Self extracting installer
- Locate the Nasnavi-version.exe (example: nasnavi-304.exe) file you downloaded and double click to execute it.
- The automatic installer might display some garbled characters during the process if your Windows does not support Japanese language, which is normal.
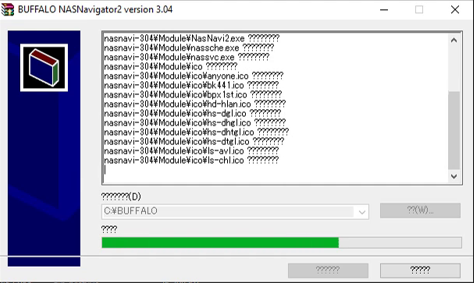
- Click Yes if the Windows UAC pops up.

- Wait until the process to finish.

- The installation will complete automatically. Then you can start the Nas Navigator from the Windows Desktop shorcut or the Start menu.

ZIP file
- Right-click on the file and extract it.

- Follow the wizard or use another application of your choiceto extract the file.

- After successful extraction, open the location folder.

- Double-click on the installation file.

- You may be prompted for administrator permission. If the security dialog box appears, click Run.

- On the User Account Control dialog box, click Yes. If you are not logged in as the administrator, you will be prompted for the system password.

- When installation finishes, click OK.

- Double-click the icon on the desktop to start NAS Navigator.
