Knowledge Base
Search by either entering keywords or by selecting a product.
Joining a Buffalo NAS to an Active Directory Domain
Applies to Terastation 3000/5000/7000 series
For later models, please visit this article.
Preparing a domain account for the Buffalo NAS
- Connect to your domain controller, either at the console or via remote desktop.
- Verify that the domain controller has a static IP address(suggested but not required) and that the primary DNS server is the domain controller.
- If the AD domain controller is NOT on the same network segment with the Buffalo NAS device, then the networks have to be configured to let packets be able to route between these networks.
The Buffalo NAS device has to be able to send DNS requests to the remote network. The Buffalo NAS device must use the domain controller as its primary DNS server. - Create an AD service account for the NAS. (Windows 2003, AD) (Best practice is to not use special characters in the username). The password can only contain the following special characters: . - _ (Legacy Linux).
- The account must be member of the Administrators Group
- Create a DNS A record for the NAS. If the NAS has multiple IP addresses, create an A record for each IP address.
- Create a computer account for the NAS (Windows 2003, AD).
- The computer name must be the same as the name assigned to the NAS.
- Select "Assign this computer account as a pre-Windows 2003 computer". Do not select "Assign this computer account as a backup domain controller".
- After the computer account is created, examine the Delegation tab on the Properties page. Select "Trust this computer for delegation to any service" (Kerberos only).
- SMBv1 MUST be enabled on the domain controller. (TS5010/TS3010 series do not have this restriction)
- In some cases, if digital SMB Signing is disabled on the domain controller, you will need to enable it to join. You can find this under Local Security Policy on the DC. (Or change it under Domain defaults in group policy editor to have it updated on all DCs)
Setting the time and time zone
Note: The time and time zone must be set correctly on the NAS device in order to successfully join an Active Directory domain. If the difference in time between the NAS the domain controller is off by more than five minutes, the NAS will be unable to join the domain.
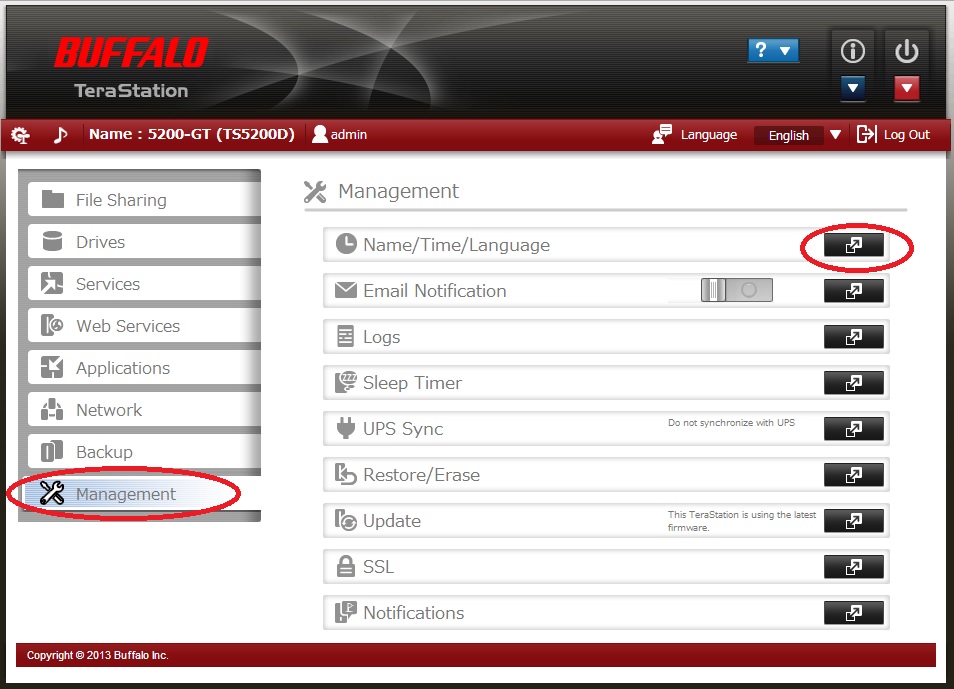
- Log in to Settings for the TeraStation. You can access Settings by either entering the TeraStation's IP address into a web browser window or by using NAS Navigator.
- Click the Management tab on the left and click on the widget to the right of "Name/Time/Language".
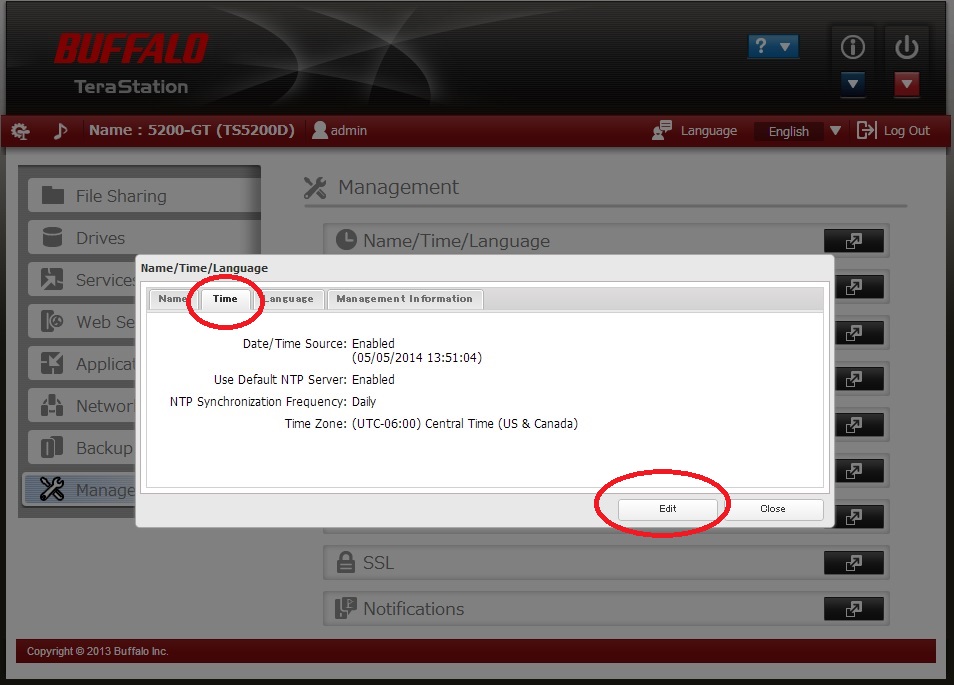
- Click the Time tab, then click the Edit button.
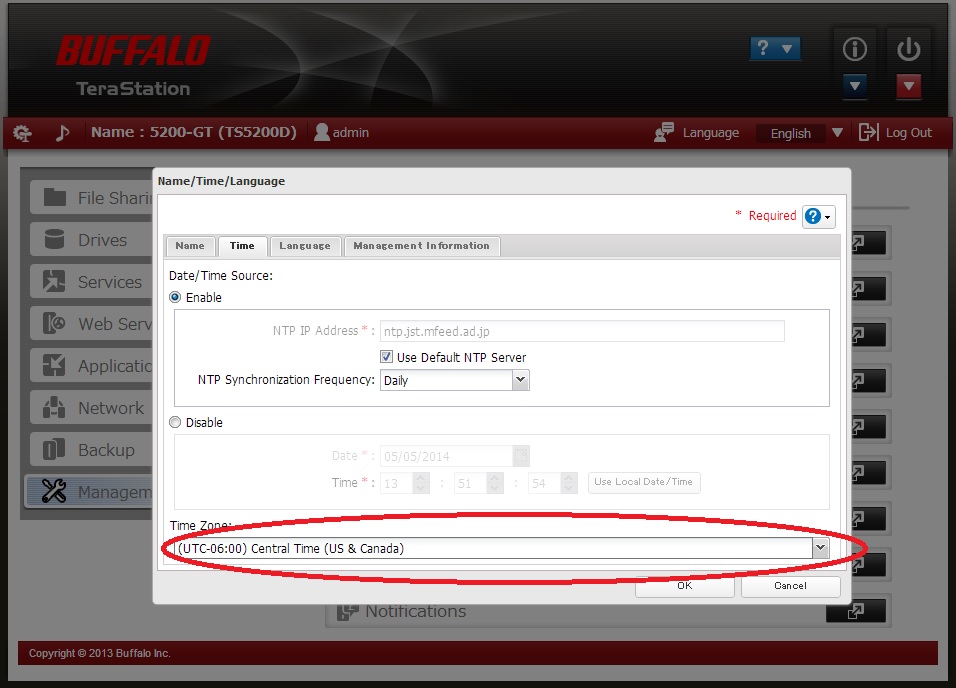
- The default NTP server should work if the NAS can access the Internet. If the NAS cannot access the Internet and no local NTP server is available, set the time manually. Click the dropdown at the bottom to set the time zone.
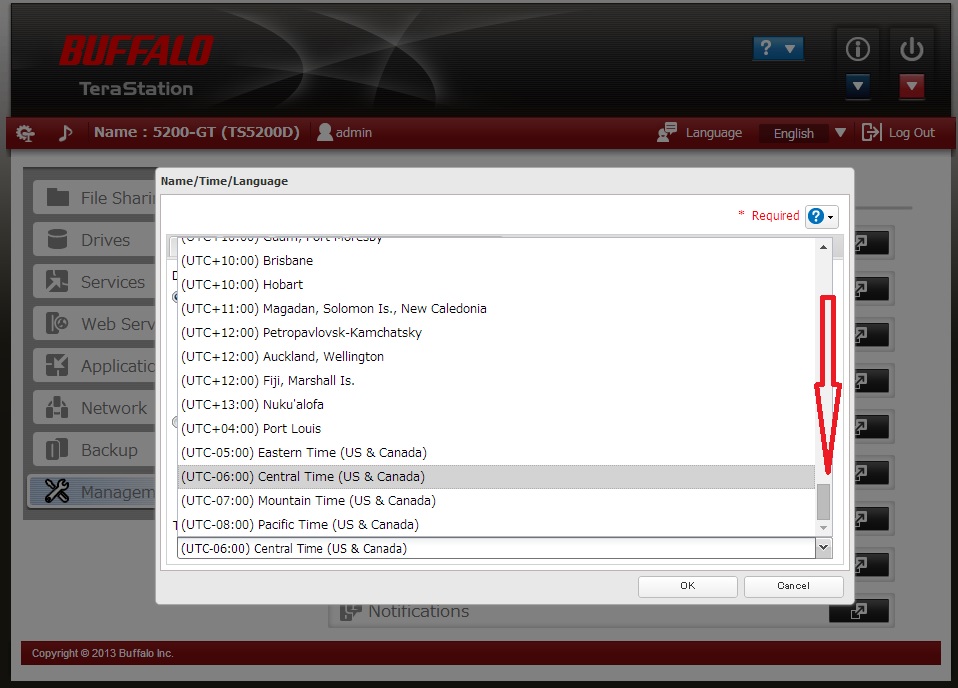
- You must scroll all the way to the bottom of the list in order to access North American time zones.
Joining the NAS to the domain
First, find the NETBIOS name and the FQDN (Fully Qualified Domain Name) for the domain to be joined. Usually these will be the same, but in the case of parent/child domains they may be different.
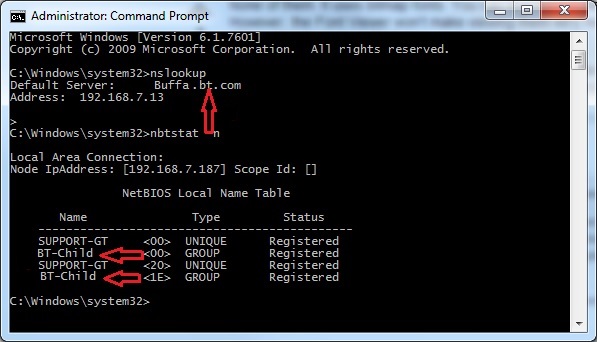
- Open a command prompt and type the following commands:
The nslookup command will give us the FQDN, BT.COM in the example below. The nbtstat –n command will give us the NETBIOS name, BT-Child in the example below.
- Log in to Settings for the TeraStation. You can access Settings by either entering the TeraStation's IP address into a web browser window or by using NAS Navigator.
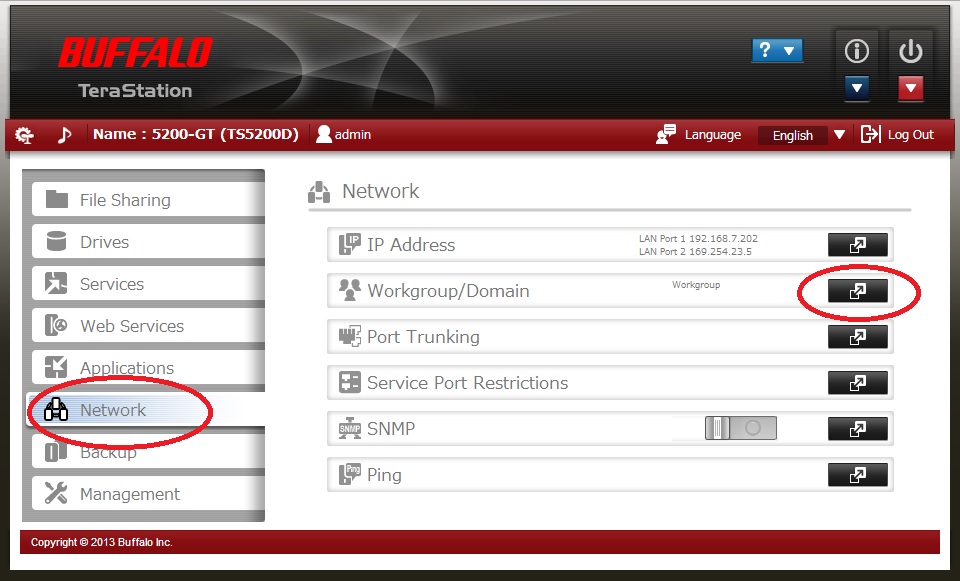
- Click the Network tab on the left and click on the widget to the right of "Workgroup/Domain".
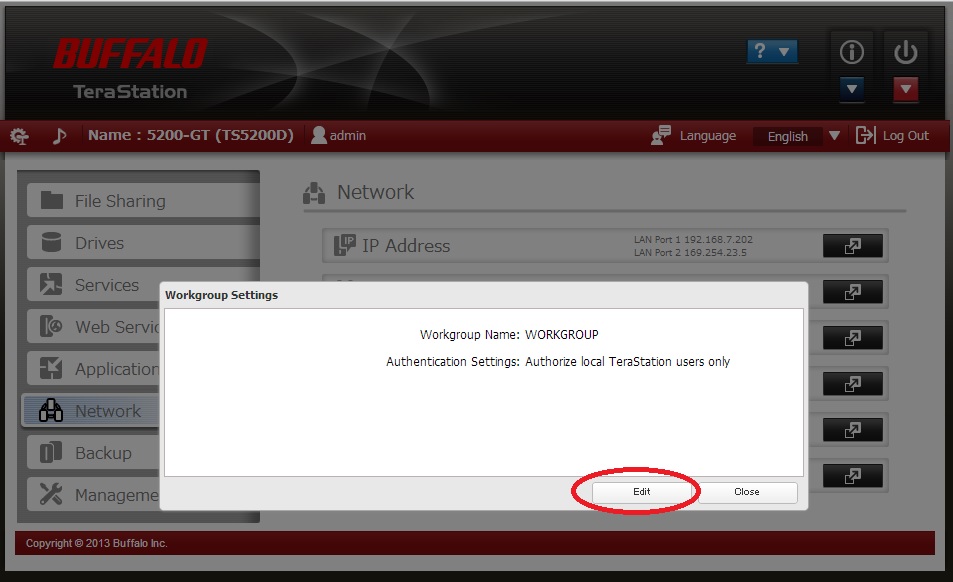
- On the Workgroup Settings dialog box, click Edit.
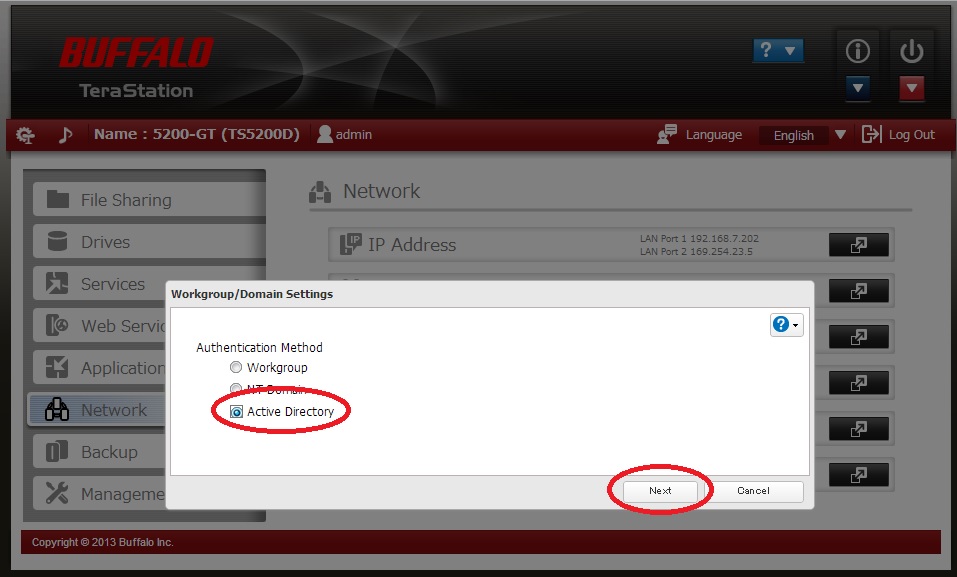
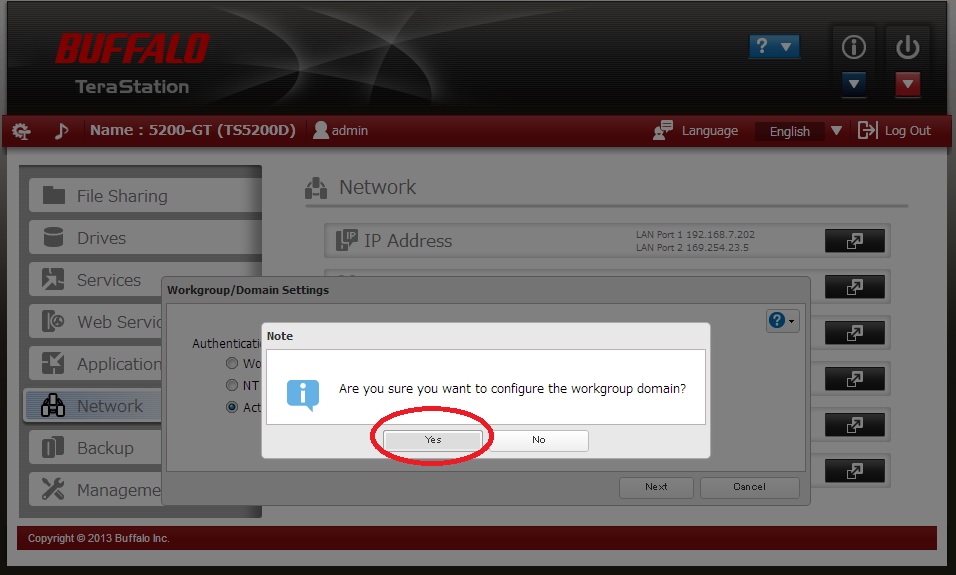
- Select the "Active Directory" radio button and click Next.
- Click Yes on the pop-up.
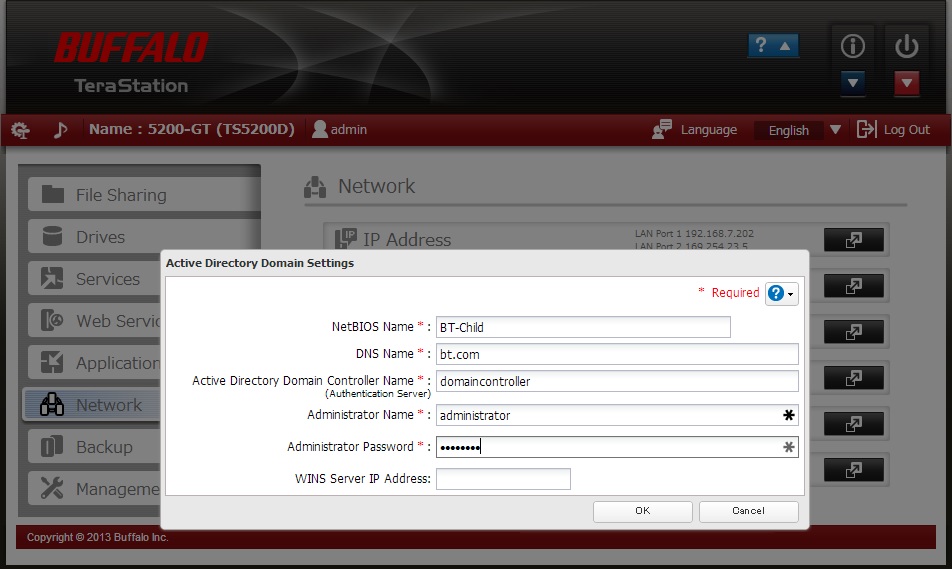
- All information in the "Active Directory Domain Settings" dialog box except for the "WINS Server IP Address" is required.
Note: The NetBIOS name and the DNS name are the values obtained earlier in step 1 above. The DNS name is the FQDN. The Administrator Name and Password must be a DOMAIN Administrator!
For TeraStation 5010/3010 series firmware 4.00 or later :
You can use the "Detect Domain Controller" feature (Enter your Domain Controller info and then click Search)
The NetBIOS name / DNS name and the Domain Controller Name should be auto populated.
Enter the DOMAIN Administrator Name and Password, then click OK to join AD.

If the NAS fails to join the domain, verify that all information is correct and that the time on the NAS matches that of the domain controller.
Common failures:
1. SMBv1 is not enabled on Domain Controller:
2. SMB Siging is not enabled on Domain Controller:

https://support.microsoft.com/en-us/help/887429/overview-of-server-message-block-signing
3. NAS did not set domain controller as its primary DNS server.
4. Time and time zone does not match.